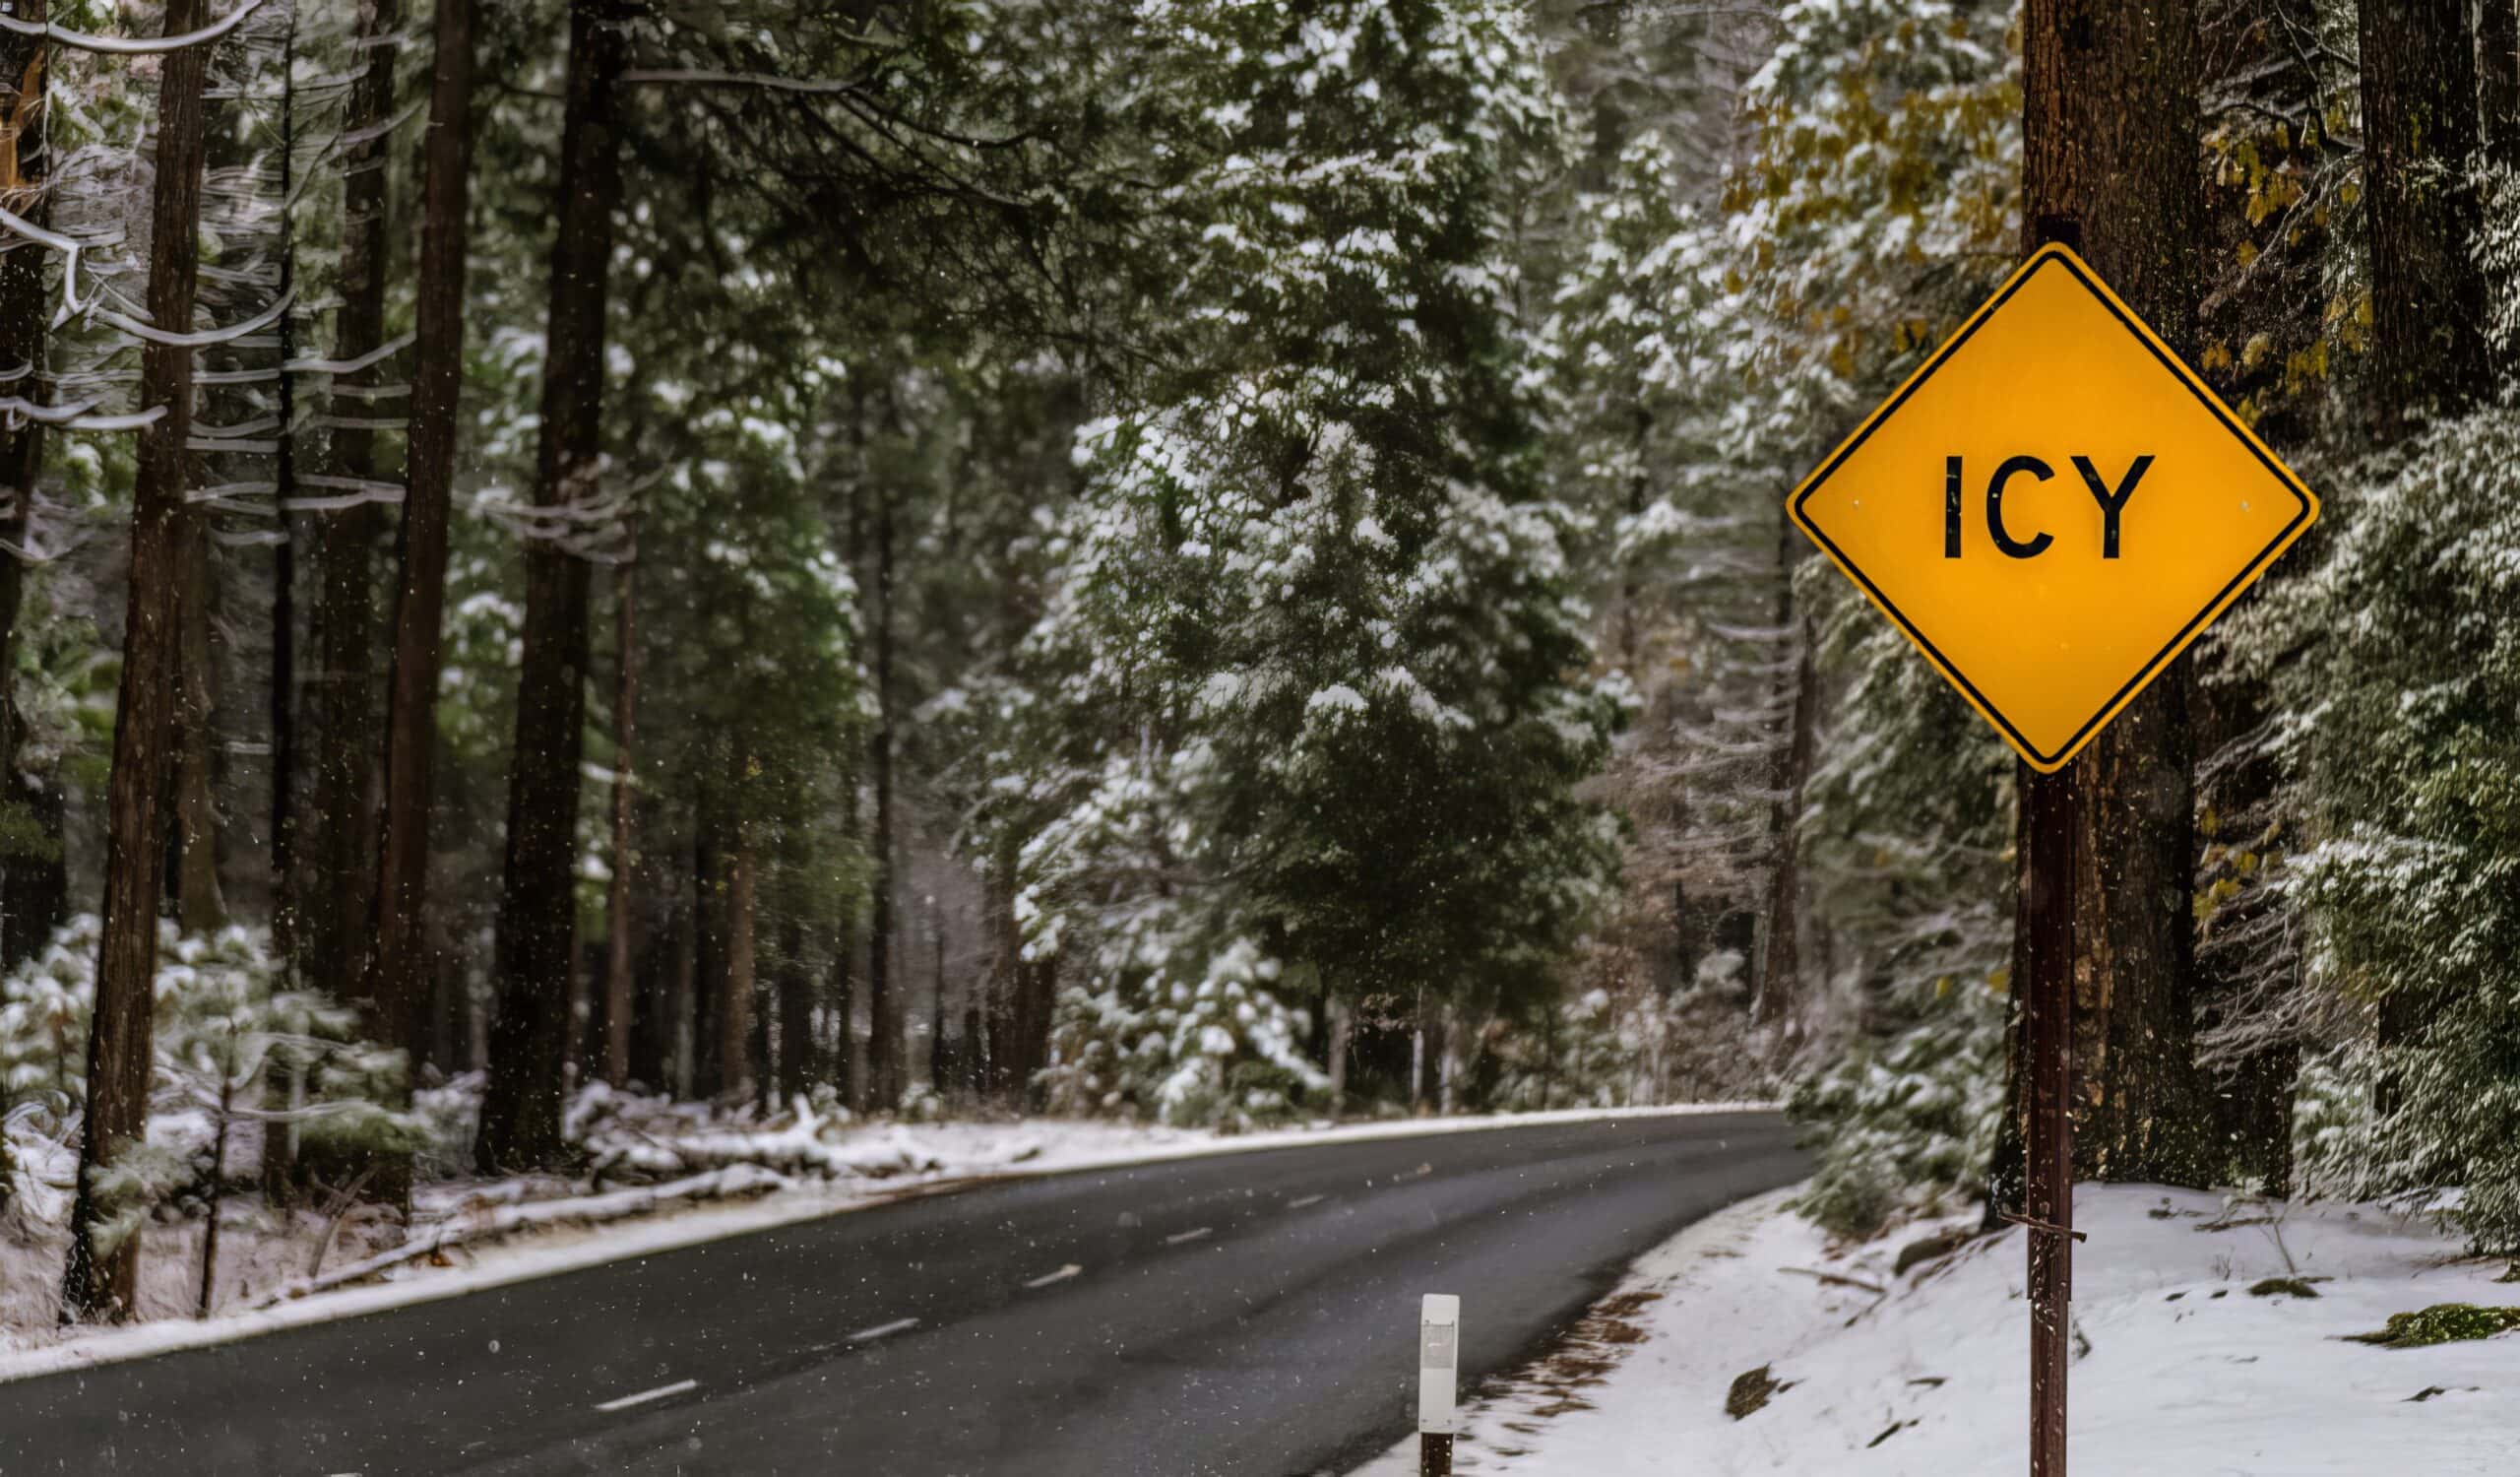
Don’t let the possibility of Yosemite snow chains and winter driving conditions keep you from enjoying Yosemite National Park in one of its most beautiful seasons. Many locals consider winter their favorite Yosemite season, and if you make the journey, you’ll see why. The scenery is more spectacular with a dusting of white, and with peace and quiet filling the valley.
Installing chains is easy as long as you plan ahead and know what to expect. However, if you read through all of this and you want an even simpler solution –take YARTS and the free shuttles instead. There are YARTS bus stops at many of the lodging locations along Highway 140 that will take you into Yosemite Valley. Once there, regular free shuttles circulate between Yosemite Valley destinations. You can also take a free bus from Yosemite Valley to Badger Pass Ski Area in the morning and return by bus in the afternoon.
When/Where do You Need to Have Yosemite Snow Chains/Cables with You?
Chain control areas can exist on any road when and where the snow conditions require it – both inside and outside the park. When there is snow on the road, Yosemite snow chains can become essential for reliable stopping and starting. When that happens expect to encounter chain controls. It’s a small price to pay to get to see Yosemite in her winter glory.
Planning for Yosemite Tire Chains in Advance:
It’s hard to know exactly when and where you’ll need to carry Yosemite tire chains until right before your trip. In general, chain control areas are more likely to be in place during the winter months. Expect to find them from November through March, especially on higher elevation roads like Highway 120, Highway 41 and the Badger Pass Road. Depending on the weather, we could see chain requirements as early as September or as late as May, but these are less likely. Lower-elevation roads like Highway 140 through Mariposa or even Yosemite Valley roads can also have chain controls, but they tend to be less frequent.
If you want to drive through a chain control area, you must have chains or cables with you in your car. Period. There aren’t any exceptions for four-wheel-drive or rental vehicles. All vehicles are required to carry chains in a chain control area when controls are in place.
Pro tip: If you own an all-wheel drive or four-wheel-drive vehicle with good tires or can rent one, it’s unlikely that you will need to actually install chains on your vehicle. You still have to have them in your vehicle, and rangers often check, but you can usually just leave them in the car. Winter roads, especially the Badger Pass road, are often R2 (where chains or four-wheel drive is required), but rarely R3 (where chains are required on all vehicles).
What if my (rental) car won’t accept chains?
Some cars don’t have the clearance to accept heavy chains or even the slimmer snow cables, and many rental companies don’t allow chain installation. So, what’s the solution?
Snow socks!
These textile traction devices are much thinner than standard tire chains, are compatible with most vehicles, and are generally easier to install. They don’t provide as much traction as a traditional tire chain or snow cable and can wear out quickly, however, they fulfill the “chain” requirements for California roadways.
Checking the weather just before your trip:
Within a few days of your trip, you can start to get a better idea of what the weather is going to be like. The closer you check to your actual visit, the more accurate these resources are going to be.
Check the current road conditions:
As your trip approaches, the most important resource to have is the road conditions hotline. Rangers update the information on this recording in real-time as conditions change, so it is the most up-to-date resource available. The recording will tell you which roads are open and what level of Yosemite tire chain restrictions are in place.
Call the road conditions hotline at 209-372-0200, press 1 and 1 again to hear the recording.
Check the short-term weather forecast by elevation:
- Keep an eye out for rain or snow in the Yosemite forecast. If the area is getting more snow, the road conditions are likely to change.
- Because the same storm can come down as snow at higher elevations and rain at lower elevations, it’s important to check the forecast by location. A few key locations for winter travel are:
- Yosemite Valley – will there be snow in Yosemite Valley? If it snows down to Yosemite Valley, get excited. There is nothing like Yosemite Valley covered in fresh snow. Also, we will see powder at Badger Pass Ski Area.
- Badger Pass – find out if it is going to snow or rain at the ski area. (You can also take a look at the Badger webcam to see what the current conditions are.)
- Mariposa and El Portal – Highway 140 climbs steadily into Yosemite Valley from Mariposa to El Portal and then up to Yosemite Valley. These forecasts will give you an idea of what to expect along this corridor.
- Big Oak Flat Entrance and Crane Flat – These are points along Highway 120. Crane Flat is roughly the high point along this corridor. If it is going to snow at Crane Flat, Highway 120 could see more restrictive chain controls.
- Fish Camp and Wawona and Chinquapin – These forecasts are for points along Highway 41. Fish Camp is just outside the park at about 5000 feet (~1500 M). Highway 41 drops down to Wawona, and then climbs up again to Chinquapin. Chinquapin is the highest point along Highway 41 at about 6200 feet (1890 m). If it is forecast to snow at Chinquapin, chains are more likely to be required.
- Important Note: Have you ever seen a weather forecast that was 100% accurate? No? Us either. These NOAA forecasts tend to be fairly good, but with complex weather systems, it’s easy for the snow line to be off by a few thousand feet (~600 M).
Checking while en-route:
Although we strongly recommend checking the road condition hotline right before making your drive, sometimes those conditions can change quickly, and you may not be able to get good cell phone reception when you’re in the park.
So even if you’ve checked a hundred times before you drive in, it’s important to keep your eyes open while you’re on the road.
There will be signs letting you know when you reach a chain control area. The top part of the sign says clearly “Chains Required”. That means you’re entering a chain control area and need to have chains with you in your vehicle. The second part of the sign reminds you that regardless of the normal speed limits, the speed limit within chain control areas is 25 mph (40 kph). The bottom part contains information on whether those chains need to be on your tires or can continue to ride comfortably in the back of the car.
When Do You Need to Put Yosemite Snow Chains on Your Car?
There are three levels of chain controls, and whether or not you need to put your chains on depends on how much traction your vehicle has without them.

R1 Conditions: Most cars & pickups with snow tires are OK to drive without chains if they are relatively light and have the appropriate tires.
- If you have a heavy vehicle or a big load (more than 6,000 pounds / 2721 kg) you’ll need to chain up.
- Tires that are mud and snow rated count as ‘snow tires’. If there is an M+S or M/S on the wall of the tire, you’re all set to keep driving. If not, stop and put on chains.
- If your M+S tires are old, double-check that they have at least 6/32 inch (5 mm) of tread left. If not, you’ll need to chain up. This isn’t an arbitrary rule. Worn tires get terrible traction in the snow.
- Look for the portion of the sign that says “Autos & Pickups Snow Tires OK” to see that the chain control level is R1.

R2 Conditions: Light four-wheel drive (or all-wheel drive) vehicles with snow tires are OK to drive without chains.
- Again, a weight limit applies. If you’re carrying more than 6,500 pounds (2948 kg), you need to put on chains.
- Also, similar to R1, you also need to have the appropriate tires. If they are M+S and at least 6/32 inches (5mm) of tread left, you can keep driving.
- Again, pay special attention to the part of the sign that says “4W Drive With Snow Tires OK” to know that conditions are R2.

R3 Conditions: All vehicles are required to have chains.
- R3 conditions are relatively rare, but when they are in place, the conditions are serious.
- Usually, there will be a ranger checkpoint to verify that everyone has chains on. Pro tip: if there is a ranger checkpoint for R2 conditions on your way up and you tell them you have chains when you don’t, don’t expect a lot of sympathy when the conditions go to R3 and you’re stuck.
- Notice that the lower part of this sign simply says “No Exceptions”. This means there are R3 conditions.
Put your chains on right away:
Chain control signs are placed next to a big pull-out where you can safely get all the way off the road to put your chains on. If you will need to put chains on, it’s important to take advantage of these pull-outs to do that, even if the road doesn’t seem particularly snowy yet. If you wait until your car starts slipping, there may not be a safe place to pull out of traffic and put them on. And getting out of your car in the middle of a slippery road to put your chains on is desperately dangerous. Remember, the cars that will need to get by will have bad traction at that point too. It will be hard for them to keep from hitting you.
Where Do I Get Yosemite Snow Chains?
You can buy tire chains at many auto parts stores and gas stations, especially in the communities surrounding Yosemite. The Wawona gas station also carries a small supply.
However, if you know you want to go to an area that is likely to have chain controls it’s better to buy them earlier rather than later. Tire chains come in different sizes, and if you wait until the last minute, there is a chance that they won’t have an option that fits your vehicle.
Occasionally there are chain installers at the pull-outs where chain requirements begin. These professionals are independent contractors. They often carry chains in the most popular sizes and can help you install them. However, they aren’t always there, so it’s risky to count on them for chains or installation help. Once you’ve driven all the way into the park, you won’t want to backtrack to buy chains if the installer decides not to work that day, so it’s smart to be prepared with your own gear.
How do you put chains on?
Every set of chains or cables comes with a slightly different set of instructions for you to follow. If you know what you’re doing, it doesn’t take long before you’re on your way again. Here are a few general tips that will help with almost any set of chains/cables.
- Practice installing your chains/cables before you come. It’s so much nicer to know what you need to do before you have to do it in the rain/snow by the side of the road. At the very least, take a look at the instructions and a few videos. Here’s one on installing cables on a sedan. And here is another for installing chains on a truck or SUV.
- Be sure you install the chains on the drive wheels. Double-check if it’s a rental car and you aren’t certain. Every year we see people get stuck because their chains are on the wrong wheels.
- Bring a tarp and/or towel to kneel on while putting your chains on. It’s likely to be wet when you have to put your chains on. A few small things to keep you dry or help you clean up afterward make the experience more pleasant. Even something as simple as a big garbage bag would help.
- Bring gloves with a lot of dexterity or needle-nose pliers. It’s important to pull your chains really tight so that they don’t come loose or bang on your car. Handling metal chains or cables can be cold and those pliers come in handy for pulling on the small cable fasteners.
- Test the installation. After you get your chains on, if there is space, try to drive forward and backward a little. Then get out and check them before driving away from that nice safe pull-out. After the chains roll around once or twice, the chains can move around and end up being too loose. Ideally, you want to be in a safe place to tighten them up.
- Put weight in the back of a rear-wheel-drive pick-up truck. Technically this isn’t a chain installation tip, but we often see rear-wheel-drive pickups struggling. The problem is that there isn’t much weight in the back of the truck, so even though you have chains/cables on, they float on top of the snow and don’t bite enough to provide good traction. Putting a few hundred pounds in the back can help a lot.
Looking for more information on planning your winter trip to Yosemite? Check out our top Yosemite winter travel tips.
If you have a question that isn’t answered here, stop by Facebook, Twitter, and Instagram at @YosemiteNation and ask. We’re happy to share what we know.


